


The Canyon / Cave project is multifunctional. It’s the first big project I started, drawing on my art school background to introduce sculptural elements.
I have put this blog in a strange non-linear order to highlight the importance of certain techniques.
PLASTERED
I laugh when I see YouTube crafting channels using $25 latex molds to shape Plaster of Paris for cliff faces. You can use your fingers for the exact same results. It’s more fun, faster and saves a lot of money.
Plaster of Paris soaks up paint. I use a 50/50 mix of PVA and black acrylic as a basecoat for everything. With plaster this can be splashed with a little water to make a thick wash get into all those grooves. It immediately soaks into the plaster and looks awesome.
I used two types of acrylic - the cheap stuff sold as child friendly poster-paints which is watered down and the other cheap stuff which isn’t. When I add water the kids paint goes blue while the other stuff stays only black.
Having got the Canyon to that stage I abandoned the project for over a year to monitor the long-term effects of how my polymer mix interacts with plaster of Paris, assuming it will discolour further over time.
Eighteen months later and it’s still the same as the day I painted it - possibly thanks to the extra PVA which seals the colour in and forms a surface on the plaster. I will now apply a second layer of 50/50 black acrylic & PVA before wet-dry-brushing with mid-grey then highlighting with magnolia.
NB magnolia instead of white to avoid it looking frosty works wonders on XPS brickwork. For cliffs and boulders it’s not quite so good. A pale blue would be preferable.
On top of this goes an Agrax Earthshade inspired home-made wash to dumb-down those highlights and make it look earthy, dirty, realistic.
After which, green vegetative things can be applied.
I have used the term Plaster of Paris here. I’m not an expert to distinguish between the cheapest type of polyfilla and the most expensive chalk & lime based equivalent products. Next time I’ll use cement powder so it won’t break and crack if the model is ever dropped.
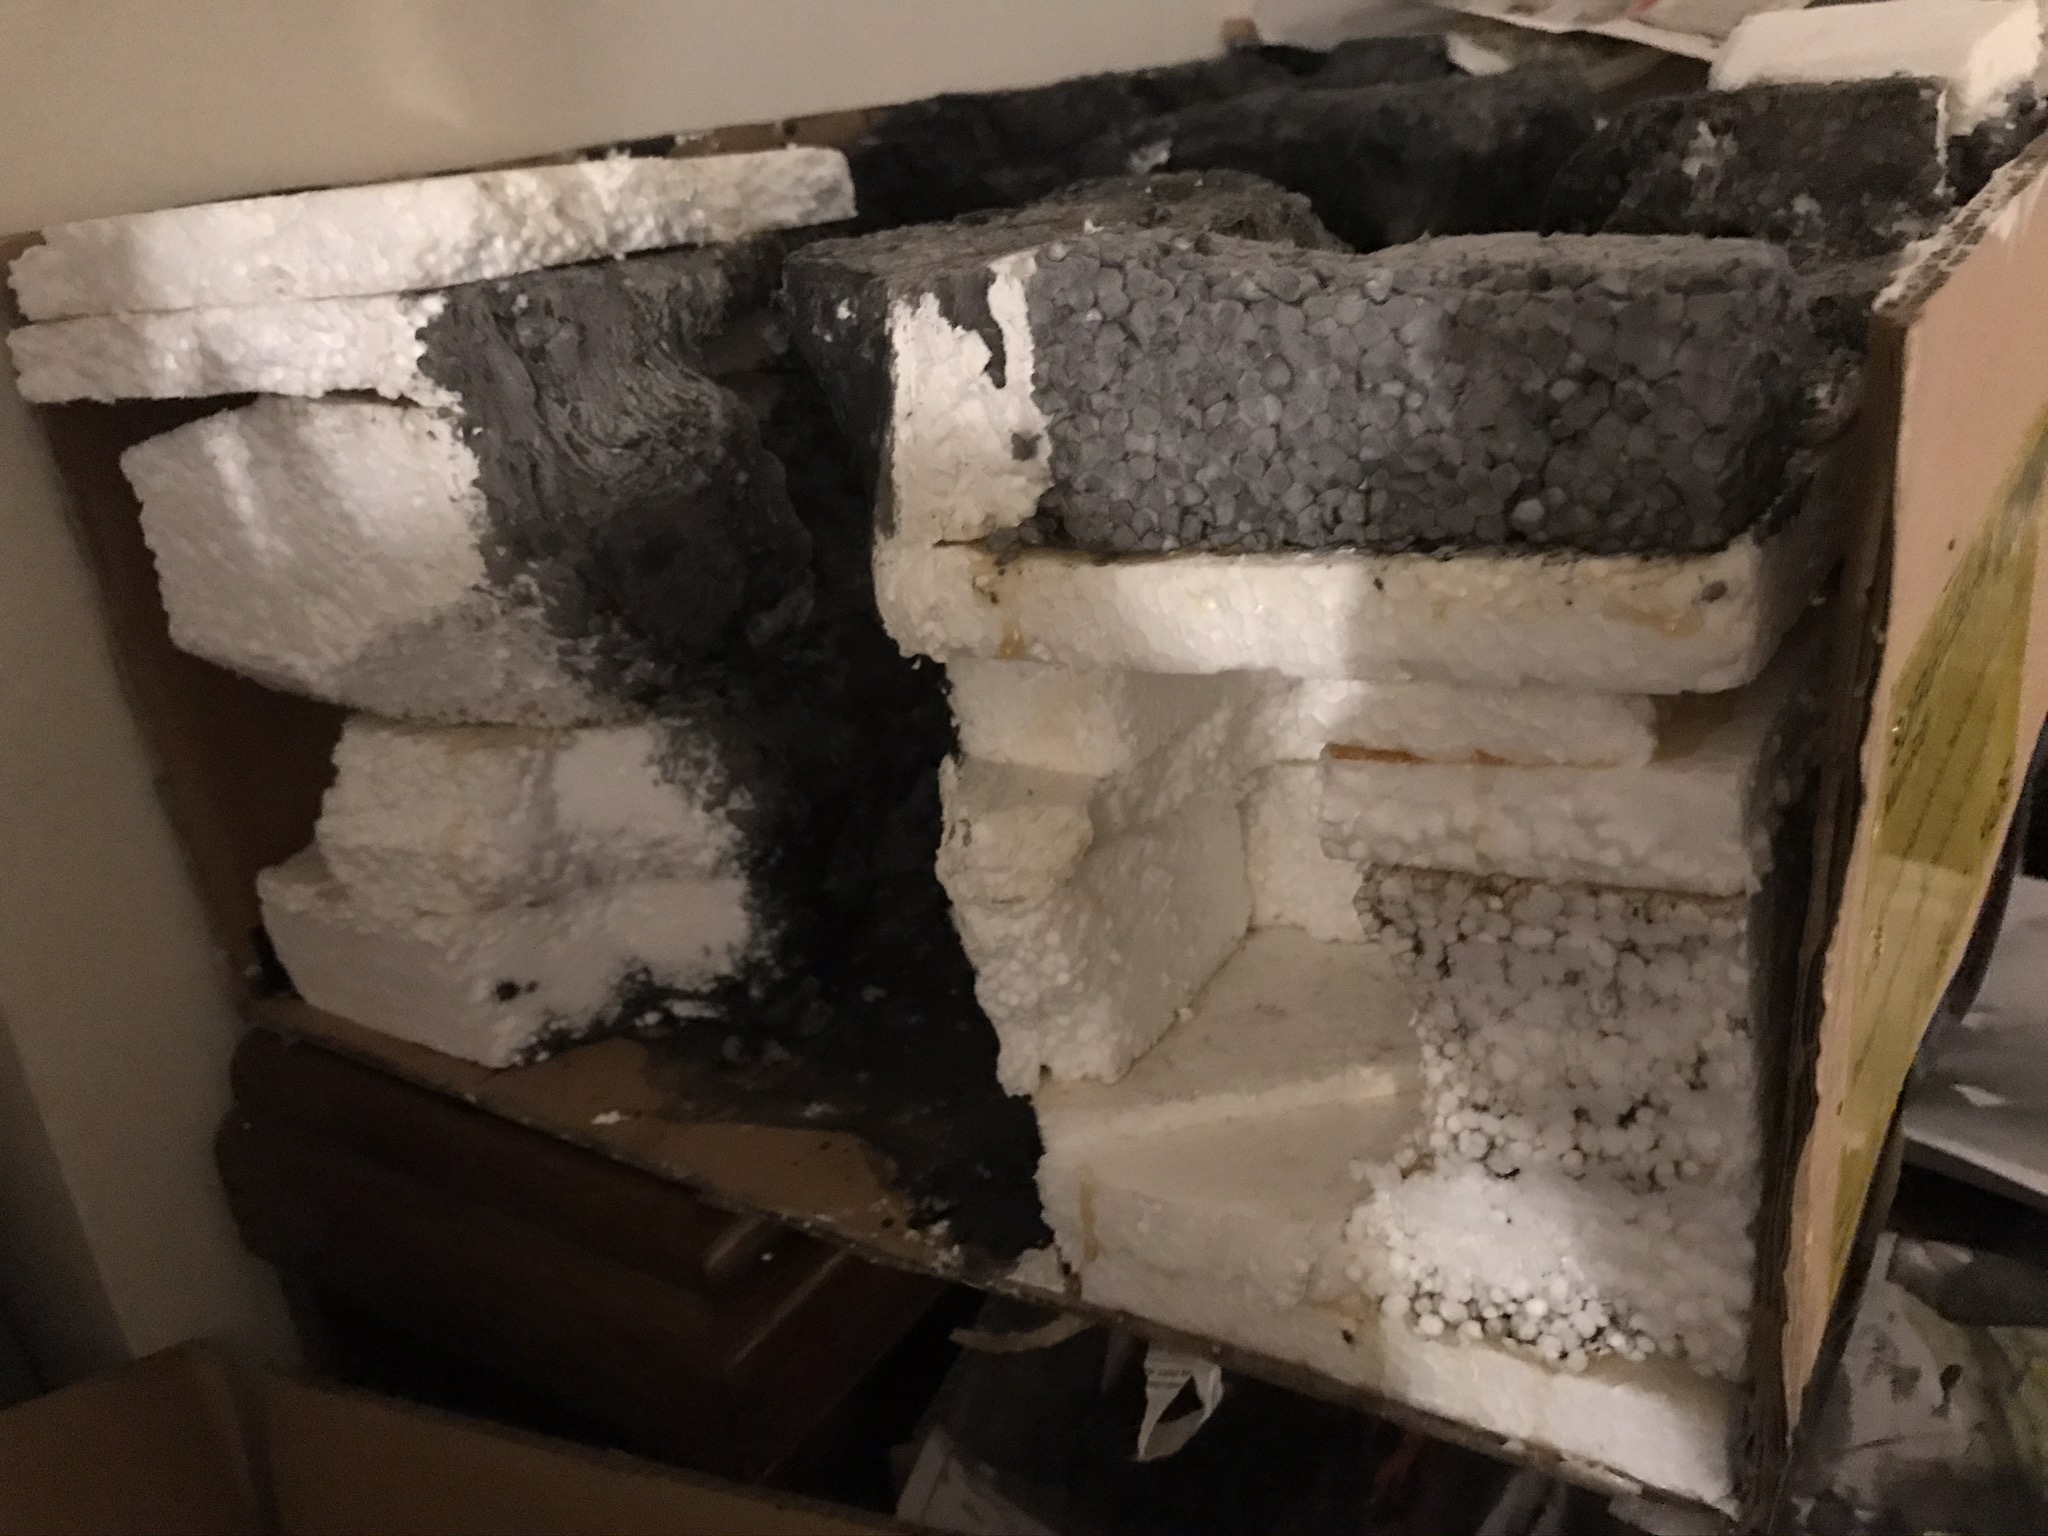
FOAMING AT THE cave MOUTH
The bulk of the cliff sides is made from EPS foam which has a nasty annoying easily identifiable texture of polystyrene balls. Sometimes it looks awesome when I can suspend disbelief to imagine it as cobblestones and volcanic stone. Usually it looks like polystyrene whatever you do to it. Disguising it is necessary hence use of plaster/polyfilla for more realistic textured cliff surface.
I find EPS (expanded polystyrene) all over the place usually on the roadside having blown there from the wind. I have a room full of bags of it on shelves. Truly.
The best stuff is vacuum-formed such as protects packaged white goods. Inspiration for modular dungeon sections to last a lifetime with little more work than disguising the bubbles with cements or XPS (extruded polystyrene) drawn on with a biro to make it look like brickwork.
In this case I made blocks of it on either side of an approximately six foot by two feet wide base board, with a zig-zag open central space. Gorilla Glue it’s like PVA but dries harder and quicker (with eps), 24 hours to be sure (PVA sometimes simply doesn’t dry ever when air can’t get to it, such as when it’s stuck between two bits of EPS).
Next I carved its interior facing sides up with a Stanley blade to form cliff-sides prior to plastering them. A lot of sculptural work and decision making.
I cut out caves of various sizes along the way on both sides, at various heights. Goblins can pour out of these into the canyon, as they lead deeper into the underdark.
The top level is eighteen inches tall and has a path along the edge which can connect over wooden bridges to rocky stalagmite outcrops from the central corridor.
There are paths like a 2D platform videogame at different heights along the cliff edge for snipers and spiders to lurk and for heroes to rope-and-grapple their way up to and edge their way sideways along the ravine to access that sneaky cave mouth.
That’s about it so far.
No comments:
Post a Comment